How To Fix Canon Scanner Not Working Issue?
|
CANON.COM/IJSETUPijsetupprinter.weebly.com is the website of ij start Canon that assists you to install the latest drivers for your printer and software. The site gives you an exhaustive list of Canon printers. You need to choose your printer model and download the proper installation file.
|
|
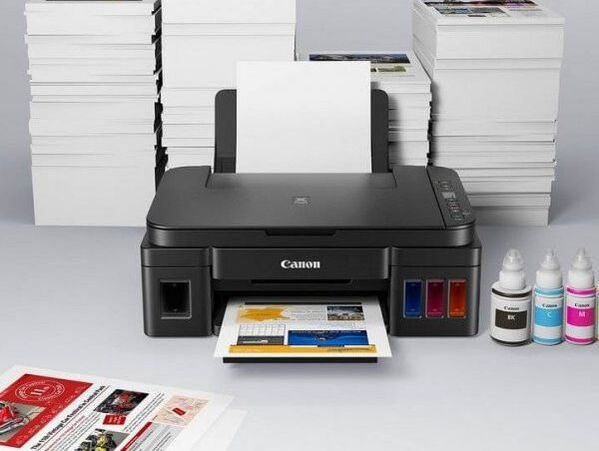
Canon Printer is the best printer available in the market and gives high performance scanning. But sometimes, customers encounter issue while scanning the document. To fix this issue, you should read the below method to fix Canon Scanner Not Working Issue. For more details, hit on canon.com/ijsetup.
Issues Which Occur During the Scanning Procedure
- If Power and USB Cables are not connected properly.
- If the Drivers which you are using in order to command the scanner is outdated or corrupted.
- If the glass of the Canon scanner is not clean or if it is broken.
- If you choose the Wrong Scan Settings.
- If the Canon Scanner Model is not compatible with Scanner software.
- Sometimes, scanner is not working because of Windows corrupted files.
Methods To Fix Canon Scanner not Working Issues
1. Check Connected Cables:
This issue occurs if the cables are faulty or damaged or not connected properly.
Power Cable: First, you should check the power cable which comes with your scanner is inserted properly into the correct port. In case, you find the cable is damaged from any sides, then the power supply will interrupted. You should also check the electrical outlet is working to which your scanner is connected. If it is not working properly, then just plug the power cord in different wall socket.
USB Cable: If your USB cable is not properly connected, then also the problem occurs. First check that the USB cable is original, which is given by the service provider. Because, non-branded cable will not work with your scanner and lead to scanning issues. In case, the USB cable is proper condition but fails to establish the connection, then you should try another USB port.
2. Properly Clean Scanner Glass:
If scanner glass is dirty, then the scanner will not identify the document which is placed on the glass. Hence, you should clean the Canon scanner glass. For this, you should unplug the power cord and open the upper unit of your scanner. Then, clean the dust with a lint-free cloth and just wipe off all the dust which is there on the scanner glass. After cleaning the glass, close the upper unit of your scanner and turn it on just by attaching power cable. Here, you have to place a document on the glass and scan it.
3. Uninstall Outdated IJ Scan Utility Software and Then, Install Latest Version:
For this, you should uninstall the driver from the control panel. First, go to Control Panel and tap on Programs & Features and then hit on Uninstall a Program. After this, choose the scanning software and right-tap on it and then tap on Uninstall option.
To reinstall updated version of the software, you should visit to the Canon Official website i.e. canon.com/ijsetup in the address bar. After this, type Scanner Model name in the search bar and then choose “Drivers & Downloads” tab. Now, IJ Scan Utility software installed with the Driver Package. Here, you need to tap on Download and just run the setup file for installation. At this point, just connect your Canon scanner with computer. You will view the list of drivers and additional software’s. Next, you should tick the checkbox of IJ Scan Utility and then hit on Install button. At last, use the software to scan a document.
To reinstall updated version of the software, you should visit to the Canon Official website i.e. canon.com/ijsetup in the address bar. After this, type Scanner Model name in the search bar and then choose “Drivers & Downloads” tab. Now, IJ Scan Utility software installed with the Driver Package. Here, you need to tap on Download and just run the setup file for installation. At this point, just connect your Canon scanner with computer. You will view the list of drivers and additional software’s. Next, you should tick the checkbox of IJ Scan Utility and then hit on Install button. At last, use the software to scan a document.
With this above procedure, you can fix Canon Scanner Not working issue. For help, tap on canon.com/ijsetup.
